


The first step is to mount the solar panels on the RV roof. And that starts with the wiring. Because only correctly dimensioned cables are good cables, so that the dimensions are very important.
There are different mounting systems and do-it-yourself approaches. The main thing is that I don’t have a solar panel flying off my mobile home on the Autobahn. And my Ducato drives quite 150km/h. Not often, but he can.
There are ready-made assembly sets just for this use. Including everything needed: spoiler, glue, primer, and instructions. Crazy enough, such a set costs almost as much as a cheap solar panel. Alright. It is important during processing that the surface to be glued is thoroughly cleaned and primed. Priming is very, very important! Adhesives like Sikaflex hold up really well, but only if they are processed correctly.
Buy components individually or as a set?
The solar powered generator system for the mobile home is also available as a complete set – but usually without a battery. Here the solar module, charge controller, assembly set, and some cables are included in the solar set. Possibly a cable for the connection to the battery. I was planning to buy such a set – but it didn’t offer me any advantage in terms of price. So I put my components together myself. Now I have a custom-fit, expandable solar system, and the self-sufficient power supply in my small mobile home is secured.
Tool for installing a solar system on the mobile home
Too many tools are not required. The solar system works with MC4 connectors, so you usually don’t have to make crimp connections, etc. A simple kitchen knife is sufficient to expose cables. What is recommended: is a multimeter so that you can measure the voltage present and whether the battery computer shows the same values that you measure. Whether there is a voltage drop (with longer) cables. Where there is electricity, were not. Having a multimeter in the motorhome is generally recommended.
Install the solar system yourself in the camper vehicle
The ambitious do-it-yourselfer does it himself with the electricity, which also includes the solar system and RV 12V lithium battery in the motor home. I myself had absolutely NO idea about this topic beforehand. However, a small refresher course in physics gave me the necessary basic knowledge.
You hardly need any professional tools to install a solar system. The only cables I didn’t makeup myself were the ones between the two batteries. However, solar cables are quite easy to assemble with the MC4 connectors. It doesn’t matter whether it’s a mounting set for solar modules or a charge controller: appropriate instructions are included.
Attach solar panels to the roof
Think about where exactly you want to place your small solar panels on the roof. Where is there space to mount them in the direction of travel? Where should the roof duct be placed so that the cables in the interior don’t get too long?
First of all, the modules were tested, and I drilled the hole for the roof lead-through, scraped it off, and covered it with some adhesive tape. As the next preparatory step, the solar modules are attached to the spoilers according to the instructions. Now get everything ready and thoroughly clean, and prime the roof surface to be glued. So wherever glue is supposed to go. Ideally, you have marked these areas (spoiler and roof duct) beforehand. The rest is easy now: mount the modules on the roof, possibly connect them in parallel with Y-connectors and extension cables*, apply a generous amount of mounting adhesive, and stick the whole thing to the roof. Fiddle the ends through the roof duct and through the drilled hole, also glue the roof duct in place. That’s it for now. Your solar system looks like one.
Incidentally, the assembly sets can also be used on the panel van. The corrugation of the roof is not a problem. Nevertheless, I decided to additionally fasten my solar system with stainless steel screws – one on each corner of the spoiler. These are secured from inside the vehicle with non-self-loosening nuts.
Switching solar modules in parallel: There is also the possibility of connecting solar modules in series in order to work with a 24V system. But we leave that and stick with 12V. Because with a 24V system, we have the problem of partial shading: If only one cell of a module is in the shade, the performance of the entire system collapses. For the parallel connection, you need two Y-connectors. Each solar module comes with a plus and a minus cable. You put both plus cables in one Y-connector and both minus cables in the other. A solar cable with the appropriate cross-section that reaches the charge controller is then connected to the Y-connector.
Lay the solar cable
Cables are already attached to the solar module, and MC4 connectors are usually also supplied. If there are several modules, they are now connected in parallel with the help of Y-connectors. Then it goes through the roof duct into the vehicle interior. To extend the existing cable, an additional solar cable (reaching the charge controller) must now be installed in between. MC4 connectors are used as the interface.
The cable cross-section of the solar module must be adequately dimensioned. If you install 200 watts on the mobile home, a 4mm² cable cross-section is completely sufficient. If you can’t rule out expanding your solar system at a later date, lay thicker cables, they really don’t cost the earth.
Calculation basis: 2.5mm² per 100 watts, with a 5m long cable.
Properly, all power cables in the mobile home are laid in a cable duct.

Install solar charge controller
The bare cable ends of the solar cables are now clamped in the solar charge controller. You also have to marry the charge controller to your battery. Also, if you have an electron block, the regulator is connected directly to the supply battery, which is more effective. You actually only use the electro-black if it contains a battery computer. Everything that is directly connected to the battery cannot be counted by the electro-black battery computer.
Now you still have to set your solar charge controller correctly so that your new motorhome solar system can also charge correctly. Here you will find all setting options in the operating instructions. The most important thing is to set the charging characteristics. There are corresponding programs for wet / gel / AGM in the controller.
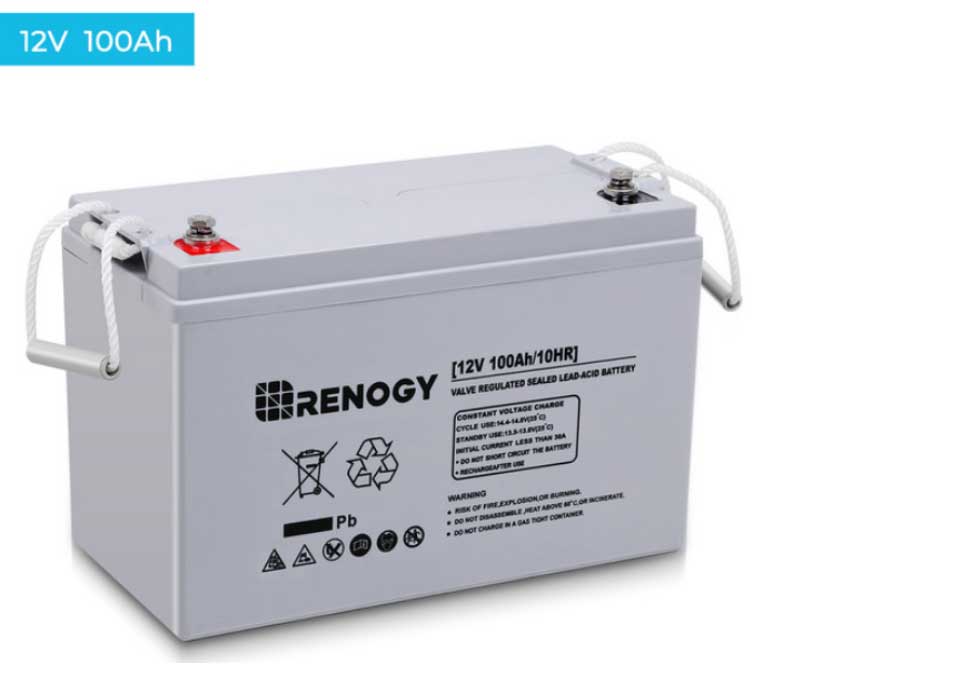
Connect solar battery
Only mentioned here in passing because the battery is only indirectly part of the solar system in the mobile home: I have two AGM RV batteries connected in parallel, each 180Ah. They are connected to each other with very short, thick battery cables. I bought these ready-made ones. You usually do not need a ground cable (negative battery to vehicle body). I have one because of the isolation relay.
How sufficient is my solar system? Take the test!
If you have wired and adjusted everything well, your solar system should now be busy harvesting herrings when the sun is shining and storing them in the battery for further use. So the question remains whether you have calculated well. You can use a first test drive to find out. Four days in modest weather, without an additional power source such as an alternator or shore power, how is the charge level of your battery? But I didn’t do any great testing myself, and I just drove off – more precisely, I moved straight into the motorhome. It wouldn’t be tragic if I found out the way that I would have to expand my solar system: you can buy 12 V solar modules and 12 volt batteries anywhere in Europe. If in doubt, organize a delivery address and order online. Retrofit your solar system yourself, even when traveling. Why not – you now know how to do it. And even if you didn’t have the tools for it on the way: go to a camper place and ask the neighbors. I assure you, someone is guaranteed to have cordless screwdrivers and the like with them.


